Windows 10+
Minimum Requirements
Windows 10 version 2004 (Build 19041 and higher)
Quad-core CPU running at 2.0 GHz+
8 GiB of RAM
Recommended
Windows 11
6th Gen Intel® Core CPU or later OR AMD Ryzen™️ 1000-series or later
16 GiB of RAM
Setting up WSL
Follow official Microsoft documentation for WSL located here to install the WSL 2.
Note
LibreLane requires WSL2. Make sure that you’re using Windows 11, or Windows 10 is up-to-date.
If you have an installation of WSL2 from 2023 or earlier, follow Microsoft’s official documention to enable
systemdsystemdis enabled by default for installations of WSL2 from mid-2023 or later.
Click the Windows icon, type in “Windows PowerShell” and open it.

Install Ubuntu using the following command:
wsl --install -d UbuntuCheck the version of WSL using following command:
wsl --list --verboseIt should produce the following output:
PS C:\Users\user> wsl --list --verbose
NAME                   STATE           VERSION
* Ubuntu                 Running         2
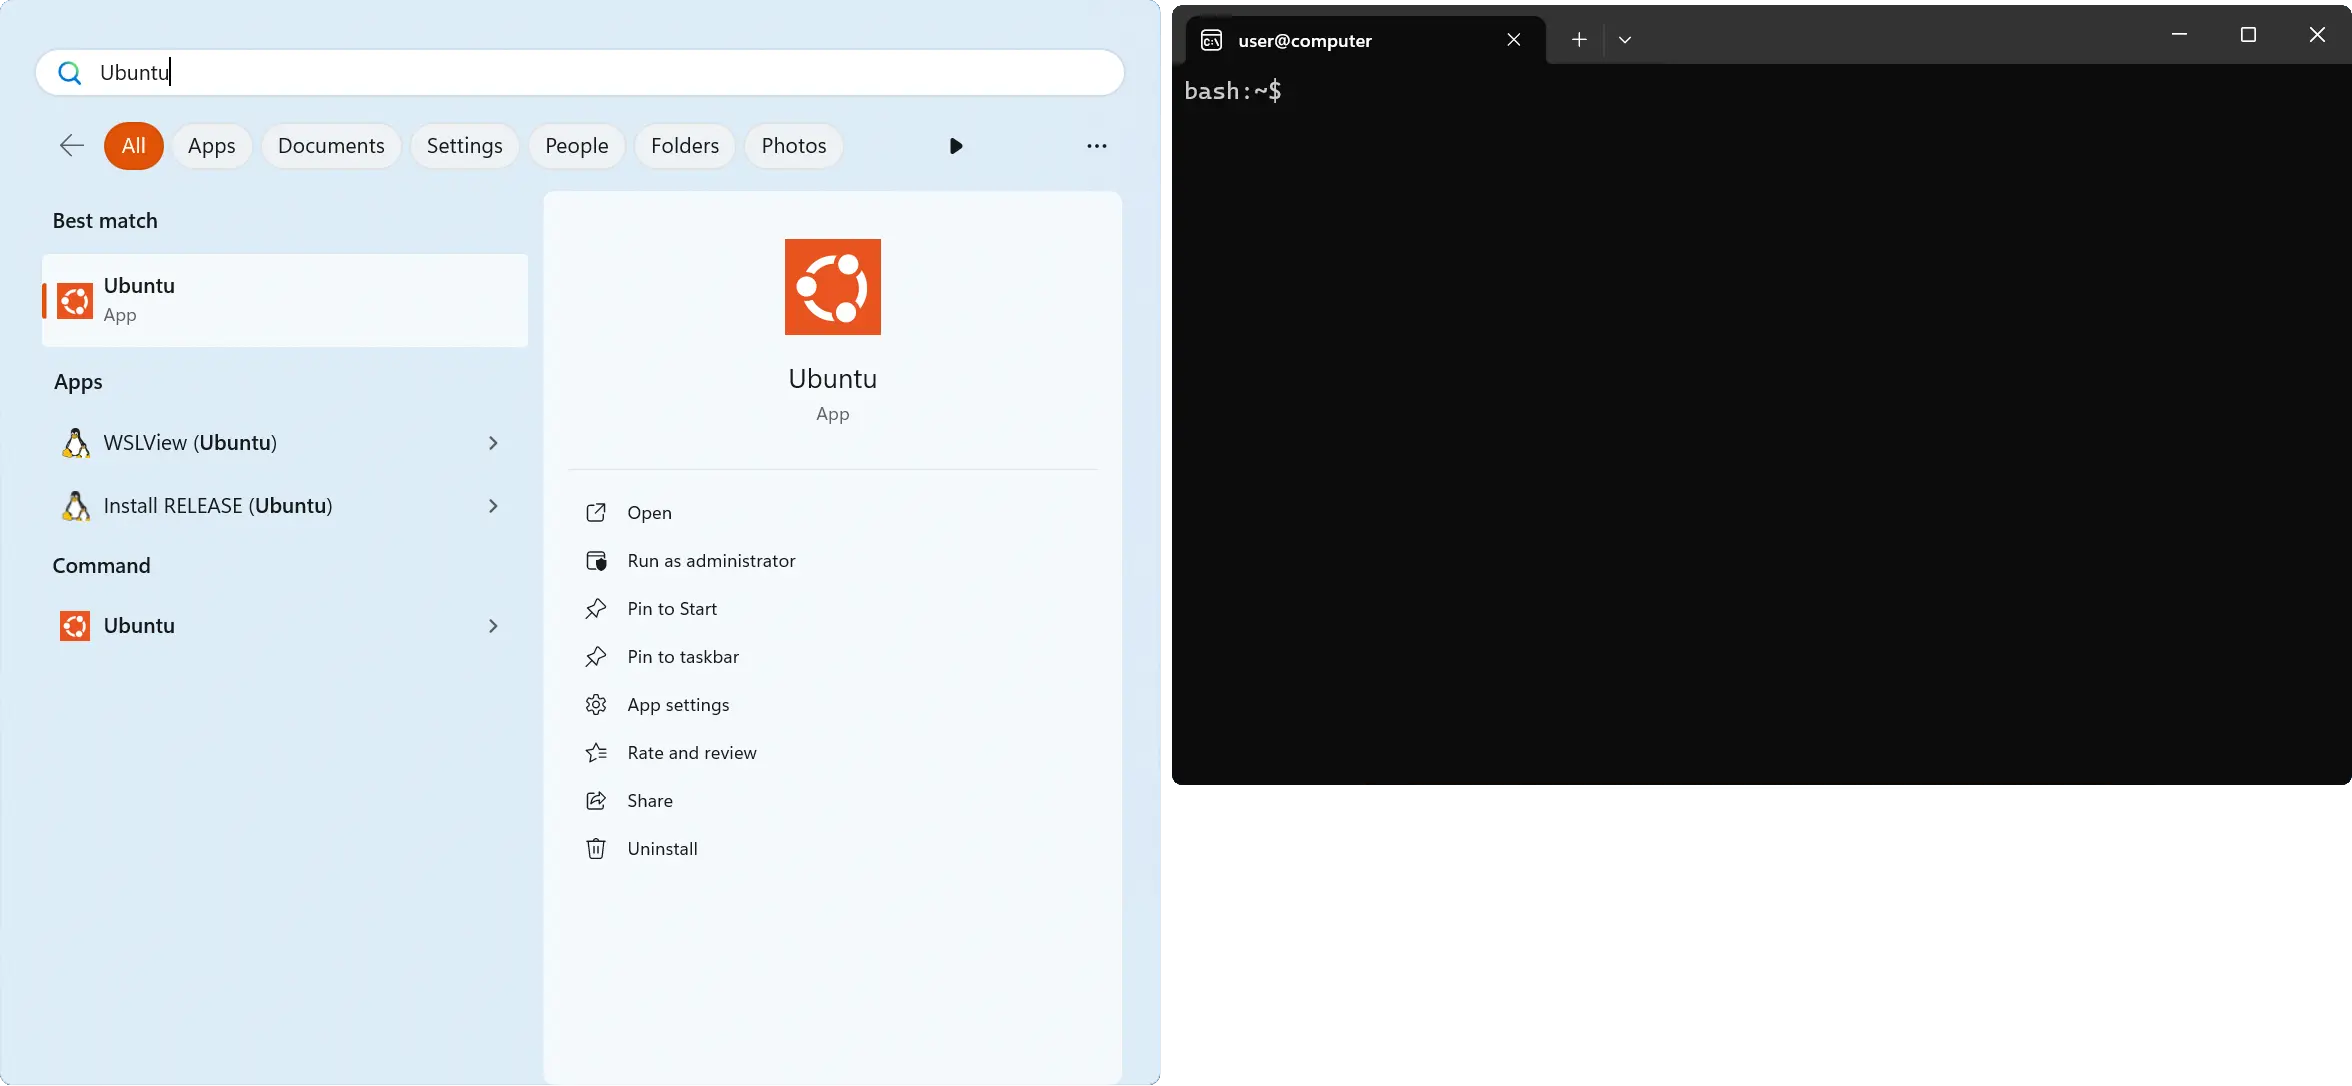
Launch “Ubuntu” from your Start Menu.
Downloading the LibreLane AppImage
Download the latest release from https://github.com/librelane/librelane/releases/latest using your browser.
Most people should download librelane-devshell-x86_64.AppImage, but those on
ARM-based computers should download librelane-devshell-aarch64.AppImage.
Inside WSL, do the following:
Move the downloaded AppImage from the Windows filesystem to the Linux filesystem as follows:
$ mv /mnt/c/Users/*/Downloads/librelane-devshell-$(uname -m).AppImage ~
Give execution permissions for the LibreLane AppImage:
$ chmod a+x ~/librelane-devshell-$(uname -m).AppImage
Entering the LibreLane Environment
From your terminal, simply type ~/librelane-devshell-$(uname -m).AppImage.
Your prompt should now look kind of like this:
[nix-shell:~]$
That’s it! You are now inside the LibreLane environment and can run any of the included tools.
You can test that LibreLane works correctly by running librelane --smoke-test.