Windows 10+
Minimum Requirements
Windows 10 version 2004 (Build 19041 and higher)
Quad-core CPU running at 2.0 GHz+
8 GiB of RAM
Recommended
Windows 11
6th Gen Intel® Core CPU or later OR AMD Ryzen™️ 1000-series or later
16 GiB of RAM
Setting up WSL
Follow official Microsoft documentation for WSL located here to install the WSL 2.
Note
LibreLane requires WSL2. Make sure that you’re using Windows 11, or Windows 10 is up-to-date.
If you have an installation of WSL2 from 2023 or earlier, follow Microsoft’s official documention to enable
systemdsystemdis enabled by default for installations of WSL2 from mid-2023 or later.
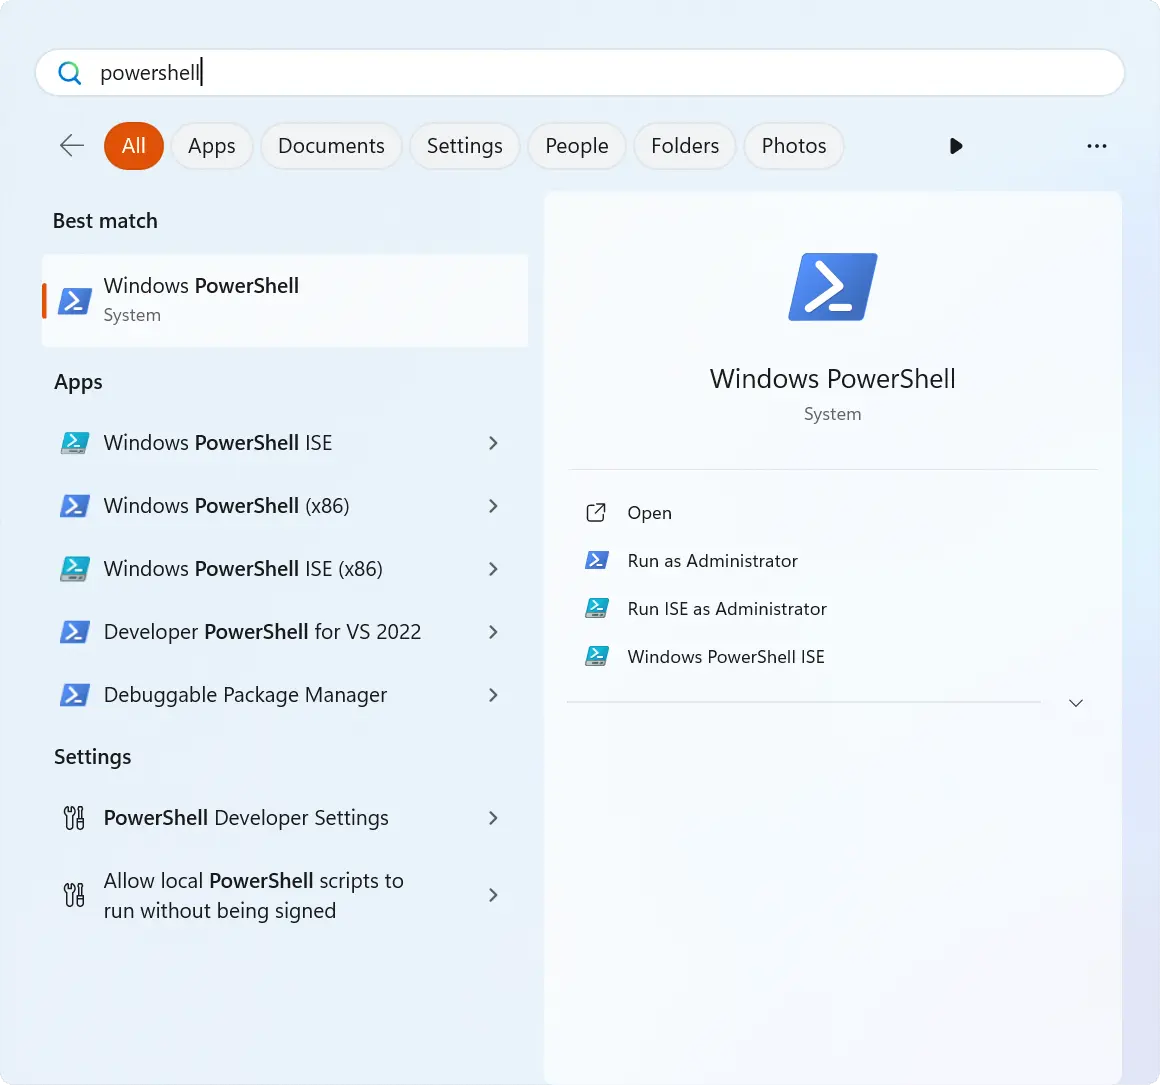
Click the Windows icon, type in “Windows PowerShell” and open it.
Install Ubuntu using the following command:
wsl --install -d UbuntuCheck the version of WSL using following command:
wsl --list --verboseIt should produce the following output:
PS C:\Users\user> wsl --list --verbose
NAME                   STATE           VERSION
* Ubuntu                 Running         2
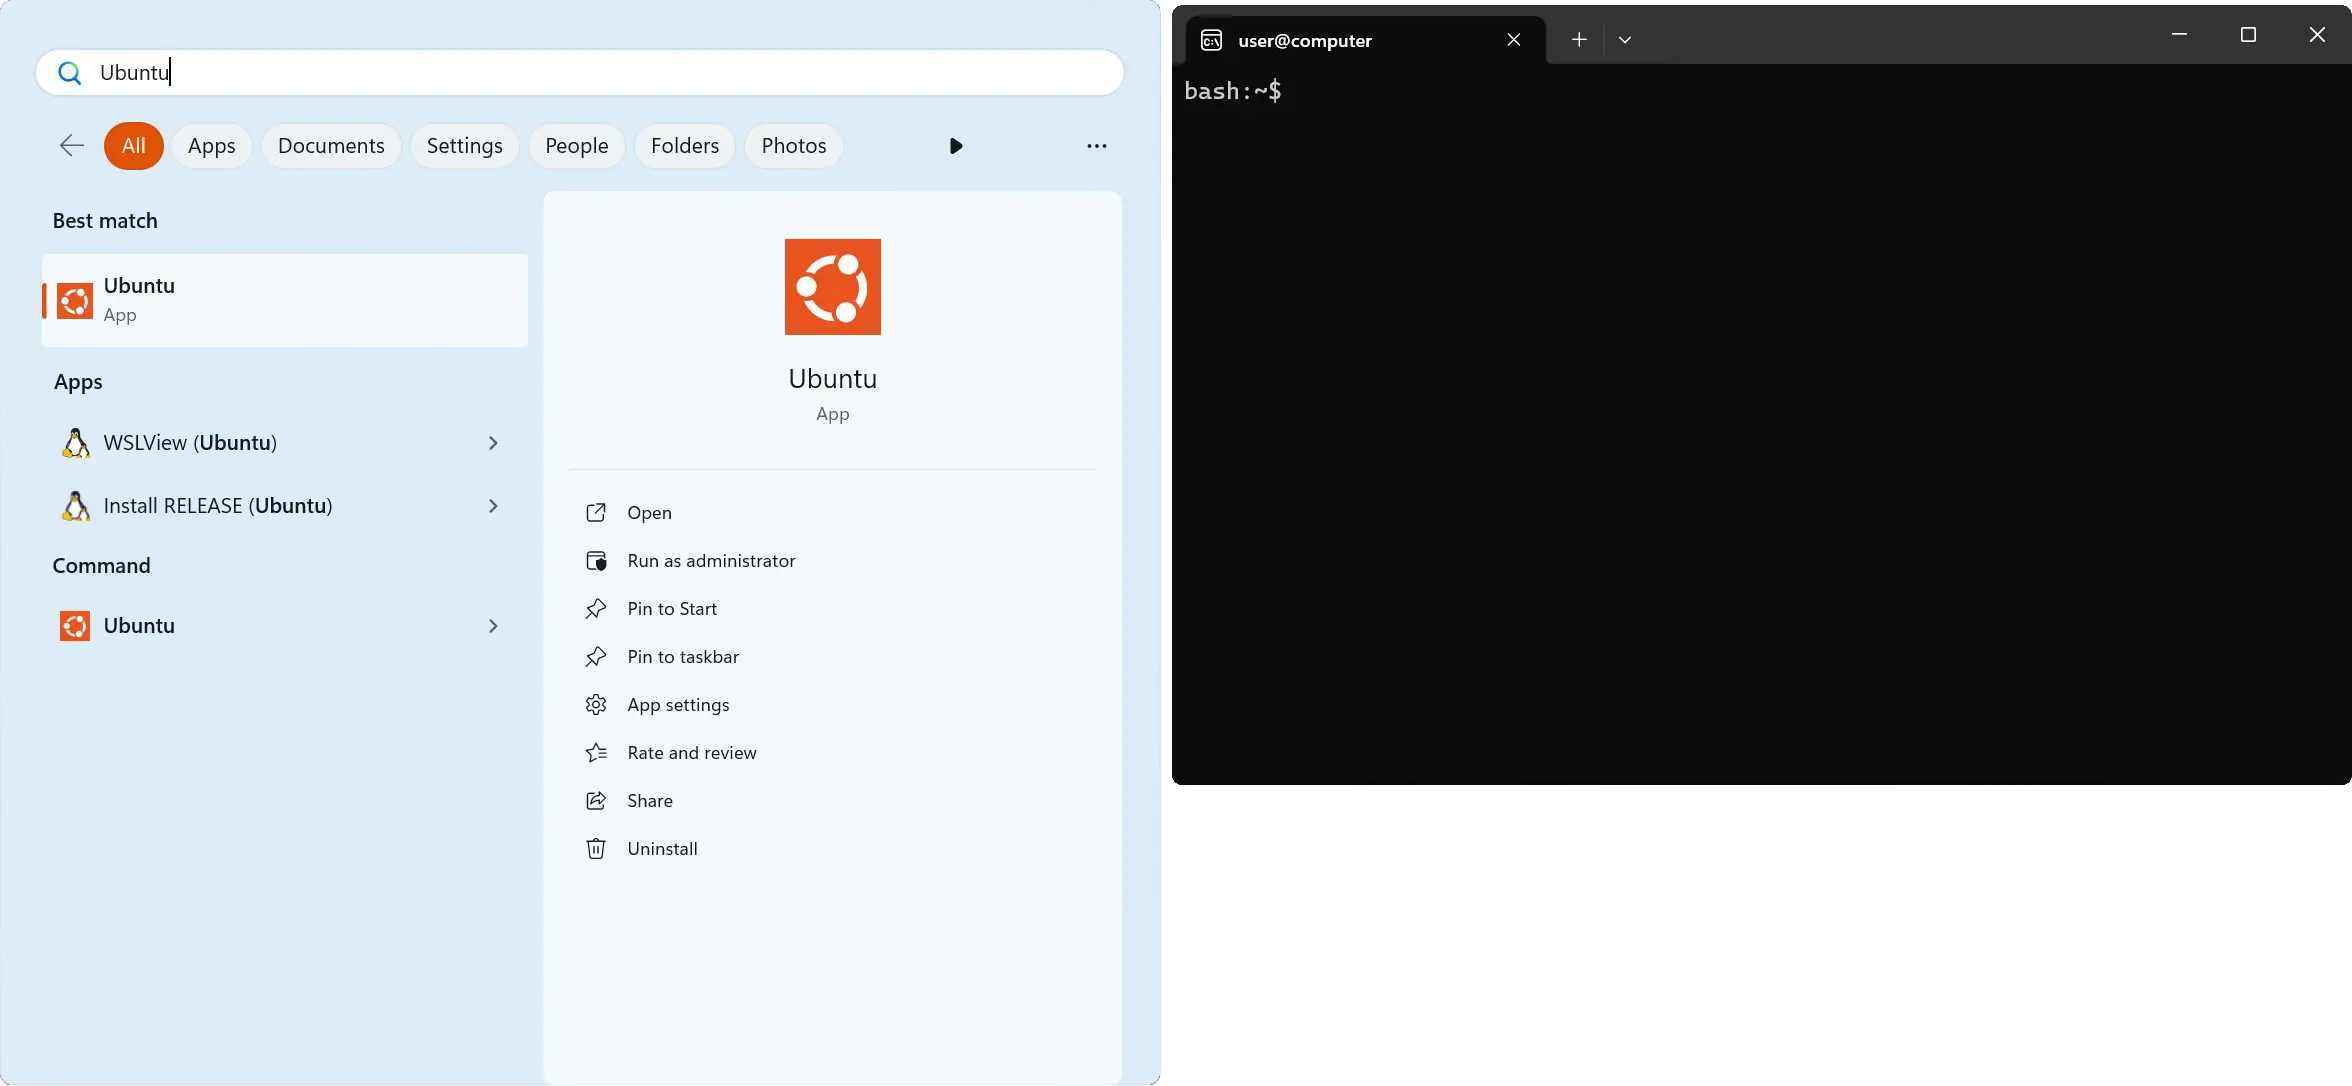
Launch “Ubuntu” from your Start Menu.
Installing Nix
Warning
Do not install Nix using apt. The version of Nix offered by apt is more
often than not severely out-of-date and may cause issues.
To install Nix, you first need to install curl:
$ sudo apt-get install -y curl
Then install Nix by running the following command:
$ curl --proto '=https' --tlsv1.2 -fsSL https://artifacts.nixos.org/nix-installer | sh -s -- install --no-confirm --extra-conf "
    extra-substituters = https://nix-cache.fossi-foundation.org
    extra-trusted-public-keys = nix-cache.fossi-foundation.org:3+K59iFwXqKsL7BNu6Guy0v+uTlwsxYQxjspXzqLYQs=
    extra-experimental-features = nix-command flakes
"
Enter your password if prompted. This should take around 5 minutes.
Make sure to close the Ubuntu terminal after you’re done with this step and start it again.
If you already have Nix set up…
You will need to enable LibreLane’s
Binary Cache manually, as well as
the “experimental” nix-command and flakes features.
See https://github.com/fossi-foundation/nix-eda/blob/main/docs/installation.md for more info.
If you do know what this means, the values are as follows:
extra-substituters = https://nix-cache.fossi-foundation.org
extra-trusted-public-keys = nix-cache.fossi-foundation.org:3+K59iFwXqKsL7BNu6Guy0v+uTlwsxYQxjspXzqLYQs=
extra-experimental-features = nix-command flakes
Make sure to restart nix-daemon after updating /etc/nix/nix.conf.
$ sudo pkill nix-daemon
Cloning LibreLane
With git installed, just run the following:
$ git clone https://github.com/librelane/librelane
That’s it. Whenever you want to use LibreLane, nix-shell in the repository root
directory and you’ll have a full LibreLane environment. The first time might take
around 10 minutes while binaries are pulled from the cache.
To quickly test your installation, simply run librelane --smoke-test in the nix
shell.